As part of my ‘working through my backlog of sets’ programme, I recently settled down to build two vehicles that form a loose pair. The Off-road Racer and the Race Car were released in January 2013, just as I was starting my collecting habit. Of all the Technic sets that were available at the time, these were the last that I picked up. In fact for a while, I wondered whether I’d buy them at all, but the completist in my head wouldn’t shut up until I’d got them.
It wasn’t the price that put me off particularly. With staff discount, I paid a little over £11.00 each, which isn’t bad at all. They just didn’t strike me as particularly… Technic-y. The main thing though, was that splashed over the front of the box was the fact that both the sets incorporated a ‘pull back’ motor. You build the car, then pull it back, let it go and it presumably careers around the floor scaring the cat.
This may sound daft, given that we’re talking about LEGO, but my first thought was ‘this makes it sound like a toy car’.
Anyway, we’ll come back to that later.
The other thing that was slightly different about these two was that normally a set would come with two sets of instructions (or lately, a set of instructions for the ‘A’ model and details on how to download the instructions for a ‘B’ model from LEGO.com). These two went down a different route whereby the Race Car and the Off-road Racer can be combined to build one large model of a dragster.
I got a bit twitchy at this, because it would mean… mixing up the parts from two sets!!!
I don’t like doing this. (1)
So when a few weeks later I saw them on sale, and was able to pick them up for less than £10 each, I decided to get a second pair. That way I can keep the first pair nice and separate and have a second pair specifically for building the dragster. In my mind, that somehow makes it ok...
Anyway.
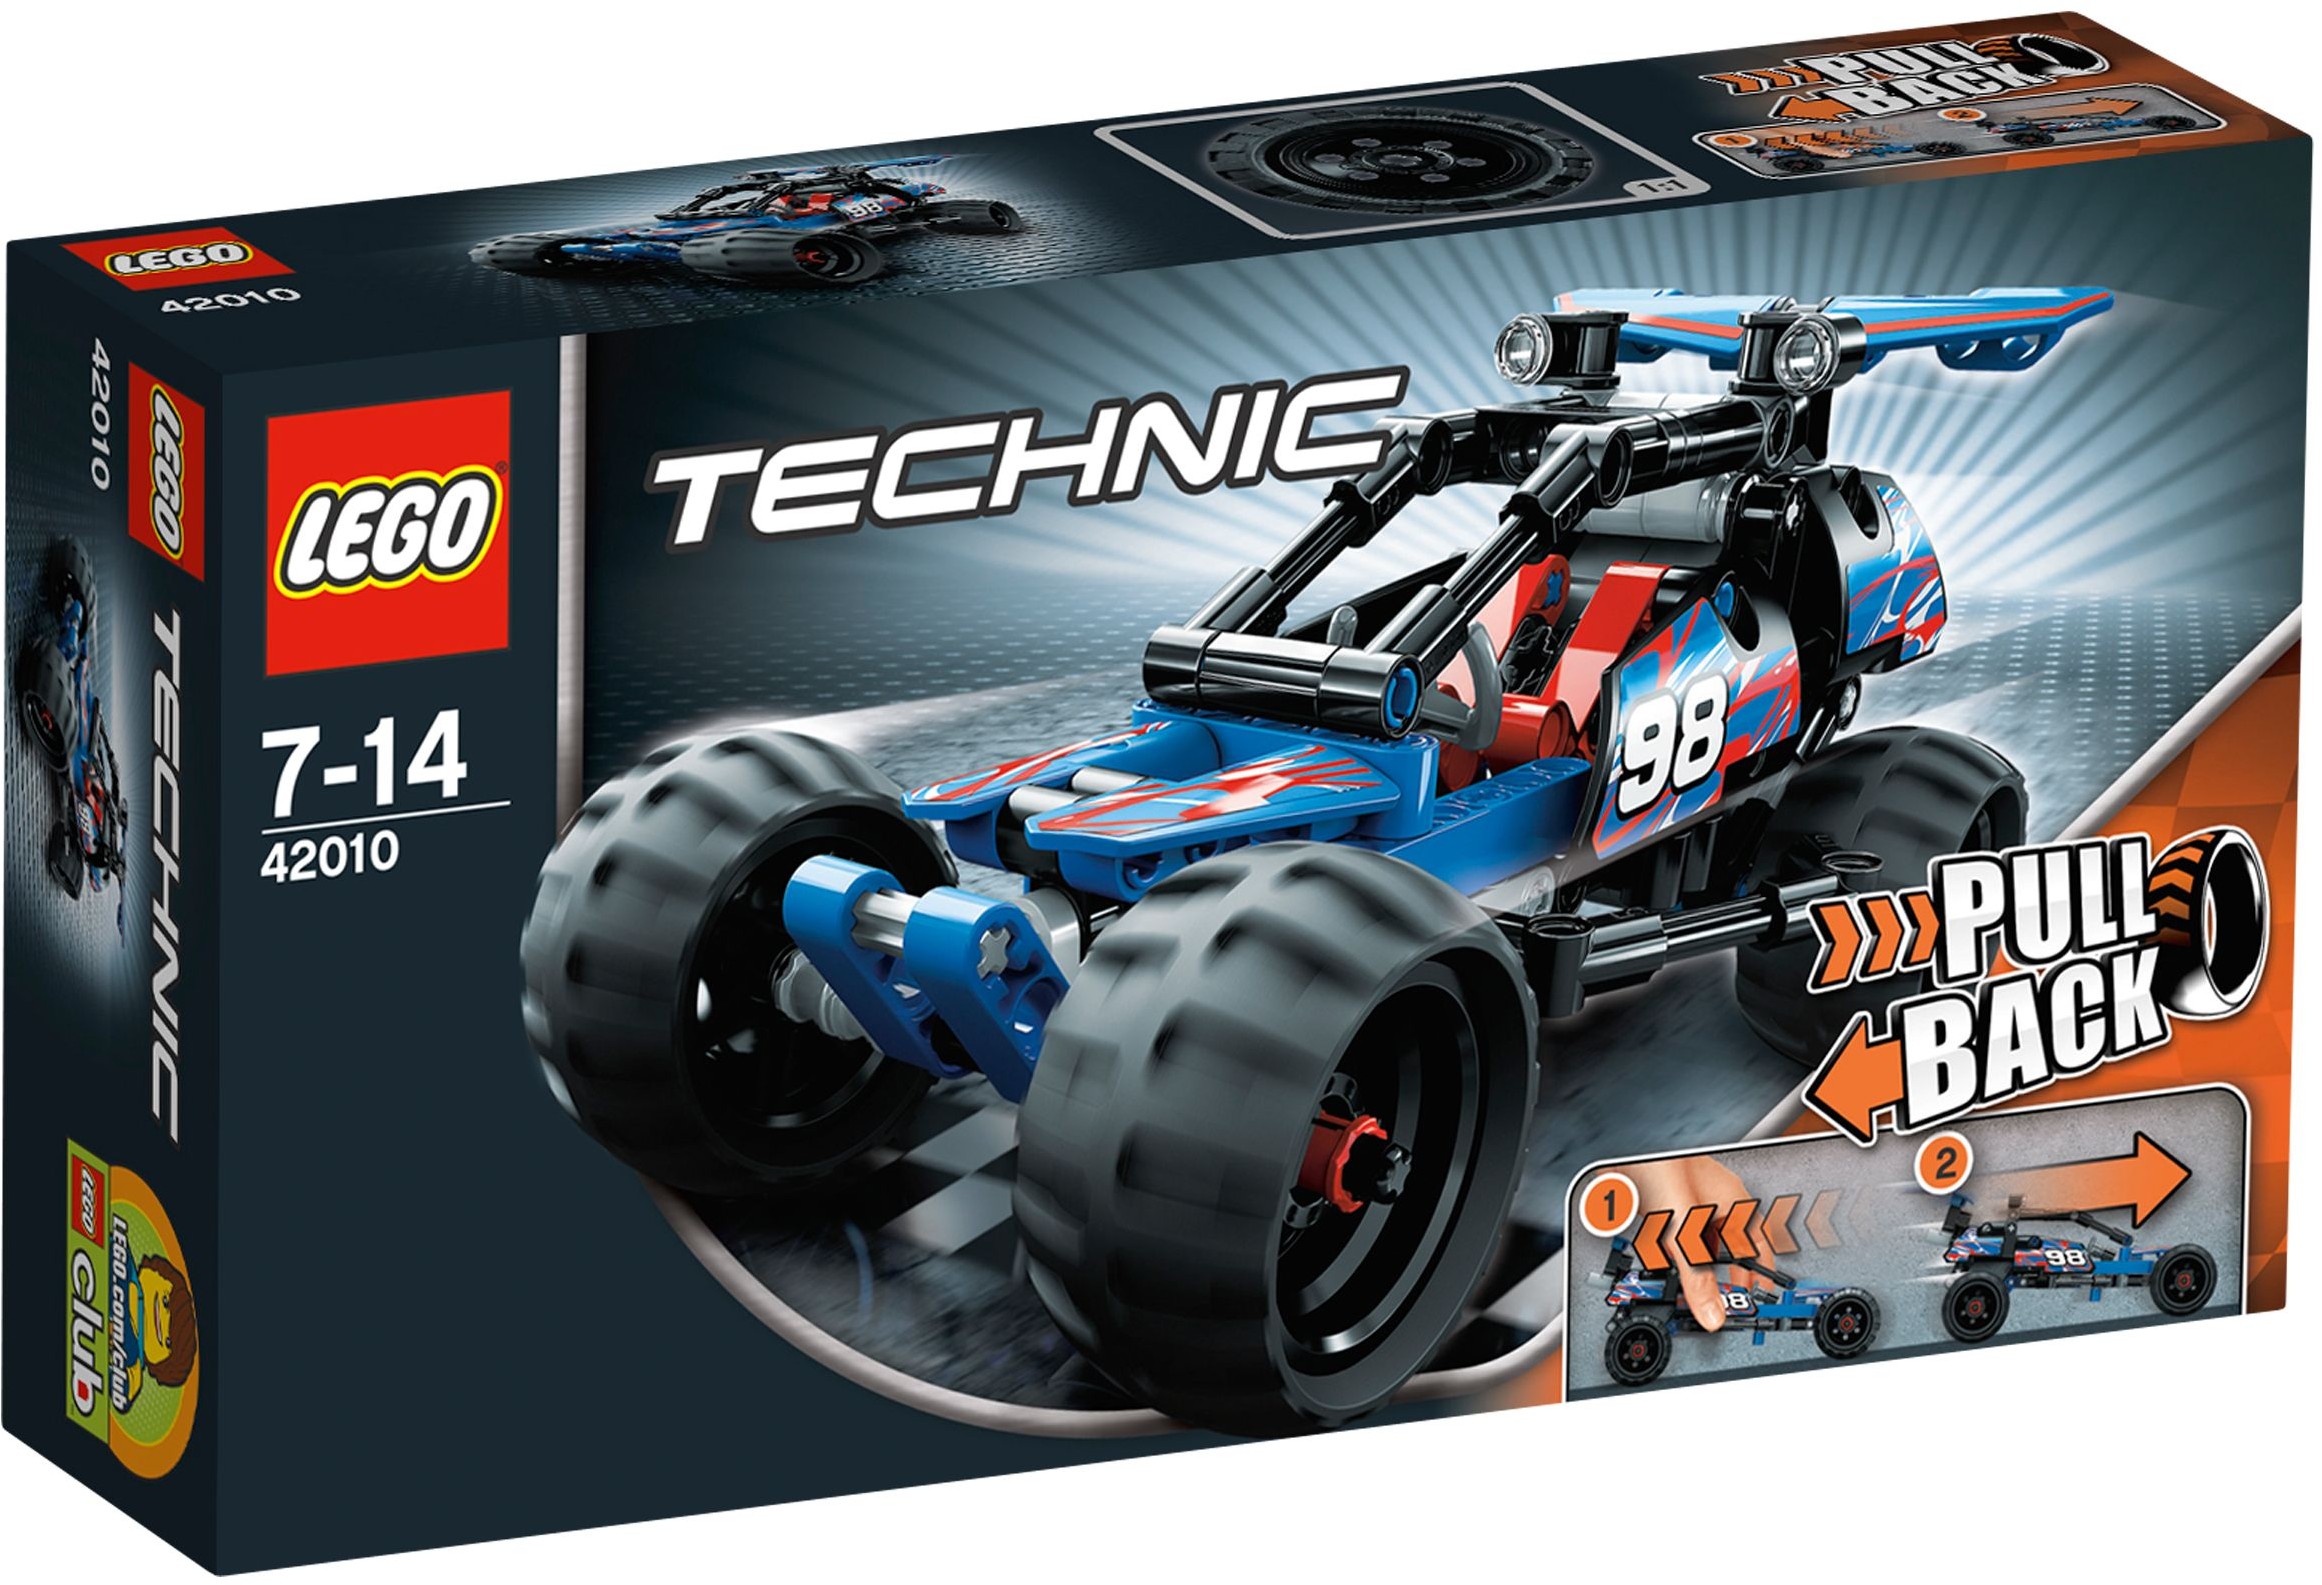
Deciding to work in numerical order, I started with the 42010 Off-road Racer. This is a dune buggy style vehicle with roll bars and big balloon tyres. At 160 pieces it’s not huge - the finished model is probably around 7” long.
But we’re getting ahead of ourselves. Here’s the box. Let’s see what’s in it.
Technic 42010 Off-road Racer
There’s a manual, plus a separate flyer for the pull back range (all two of them).
The manual...
...and a flyer for the pull back range
We also get three bags of parts, plus, loose in the box, the four tyres and the pull back motor which is a neat little self contained thing about the size of a matchbox.
Parts, parts and more parts!
Tyres, and the much vaunted pull back motor
We also get a sticker sheet, and as this one’s quite small, it doesn’t apparently warrant the plastic-bag-and-backing-board that the larger sets utilise to stop the sticker sheets getting bent while in transit. Fortunately, while this one was a little curved, nothing had been creased.
Sticker sheet, thankfully unscathed!
As with most Technic building, we start from the inside out, and so the chassis comes first, with the motor attached to the back.
Beginnings of a chassis, with motor
The chassis is then developed, including some bump bars at the side which serve to ‘bulk’ the model out a bit and stop it from being a fairly thin vehicle.
Not looking like a Dune buggy yet
The bodywork is then built as a separate section, and has the first of the stickers applied. One thing that stood out for me was the ease with which the stickers went on. I recently started on the Mindstorms set, and the static from the parts, which attracted the stickers as soon as you brought them into proximity, made it a nightmare to try and attach them. But this set was completely different - hardly any static cling at all, which means that I was able to get them all lined up pretty well, with very little cursing and reapplying.
Sticker-laden bodywork
Next up the chassis and bodywork are brought together, the axles go in (the rear one running through the x-shaped axle hole in the motor) and some more superstructure added.
Almost done
A few more pieces, a few more stickers and the wheels, and the job is done.
The finished model!
So what’s it like then?
Well to be honest, not all that great.
As soon as it was finished, obviously I wanted to try out the motor. So I put it down on the dining room floor, pulled it back and unleashed it.
Maybe unleashed isn’t the right word… (2) You let it go, and off it trundles. Ok, it’s a reasonable speed for the first couple of feet, but it struggled to get from one end of our living room to the other, a distance of around 12 feet.
The other thing I noticed straight away is that for an Off-road racer, which has been made to look like it would take on the roughest terrain, it’s incredibly unstable.
Our dining room has hard floor, our living room has carpet, and at the edge is one of those carpet bars, which must be, ooh, all of half an inch high. No matter how straight the car was lined up, so that both front wheels hit the bar at the same time, it would flip over and land on it’s roof every time.
So its off road capabilities appeared to extend no further than ‘flat floors’.
I think the problem is that for a Technic set, it has no ‘technical’ aspects at all, other than the pull back motor, which as we’ve seen, is a self-contained unit that you can’t actually fiddle with.
There’s no suspension, which would have helped it cross the rocky terrain between floor and carpet. There’s no steering. This I can understand - given the nature of the car, i.e. pull back and let it run. If it had movable front wheels, it would be careering all over the place.
But there’s… well nothing really. Nothing’s adjustable, nothing moves, there are no gears, no pistons…
I guess that it’s a sort of gateway set into Technic. If a youngster has been used to System sets, then this is a simple introduction to studless building. Nothing too fiddly, no gears or mechanisms to worry about, but it still has some immediate play value.
I’m glad I picked it up from a ‘completing the Technic range’ point of view, but viewed as a standalone set, then it falls way short of everything else I’ve built so far, and I wouldn’t in all honesty recommend it if you’re looking for an interesting Technic build. And if you want something that a child (large or small) can drive around the room, then I’d say spend two or three pounds more and get the Quad bike. Yes it’s a little more complicated to make, but the suspension and steering make it a far more fun plaything, if you can do without the pull back motor.
Anyway. At this point we’ll put the Off-Road Racer to one side and move on to its sibling set, the 42011 Race Car.
Technic 42011 Race Car
Not disimilar to the Off-road Racer, the Race Car costs the same - a little under £15 - has broadly the same number of parts (158, compared to the 160 of 42010) and is roughly the same size.
However, 42010 is a sleeker, lower, single seat vehicle reminsicent of a Formula 1 style car.
In the box we find the manual, plus the same flyer that was in with 42010, another loose sticker sheet, two bags of parts, a couple of loose beams and the pull back motor.
The manual...
Just the two bags of parts...
A couple of liftarms and the motor
A remarkably flat sticker sheet!
The build isn’t that different to the Off-road Racer. The chassis is flatter and wider, but still a very simple beams and pins affair. Much like 42010, it has about a dozen stickers to apply, which seems a lot for a relatively small set, but they’re all on single pieces, i.e. no STAMP issues (3).
Chassis with motor
A few minutes later...
Stickers apart, the only thing that this set does that occasionally makes some people a bit twitchy is the way a flexible bar is used to form the front ‘curve’ of the spoiler. It’s bent through 90 degrees, and apparently if it’s left too long like this it can be very difficult to get it straight again.
Some stickers applied and flex bar... flexed
Me, I’m unlikely to use it for anything else other than the front bar of 42011, so I’m not that bothered.
Finished!
Thoughts? Well it’s not a lot different from 42010. In fact, I’ve just tested it with the floor-to-carpet transition, and because it’s got a considerably wider track than the Off-roader, it’s actually more stable. It certainly stayed flat and kept running, rather than rolling over and ending up on it’s roof.
Would I recommend it? Well to my mind it looks (a bit) better than 42010 and keeps it’s wheels on the ground. Again, nothing remotely interesting from an engineering point of view, so if you were looking for a Technic build, then you would do well to look at pretty much any other Technic set going. But if you wanted a simple build and the pull back motor sparks your interest but you only wanted to buy one of these two, then I’d probably say go for the Race Car.
But…
If you only buy one, you can’t build the ‘B’ model. It’s almost like LEGO planned it.
Well I did buy them both, so let’s go build a dragster!
First off you need to get the instructions from LEGO.com. It’s pretty simple to search the site by set number, and then the instructions are downloaded as a PDF. I downloaded it to an iPad, and on reflection that wasn’t such a great idea. When you’re reading a manual and you need a better look at a detail, you can just peer a bit closer at it. With a PDF on a screen you have to expand the screen to blow the image up then shrink it back down when you want to see the whole page again. It’s not the end of the world, but given the choice, I’ll stick with an old-fashioned set of paper based instructions.
It might be different with a bigger screen. Next time I try it I’ll use the laptop instead of the iPad.
I can’t help thinking though, that it’s a bit daft that you need hundreds of pounds worth of computing hardware to build a £15 LEGO set.
But we have the instructions, so I open up two new sets and empty the parts into six bowls. Habit means that I empty one set into three bowls and the other set into three separate bowls rather than mix them up.
Well this wasn’t particularly fun.
The instructions were, as mentioned, not as easy to use as a paper set, and there’s a lot more rummaging around looking for pieces than when you’re building from a single set of parts (4).
Anyway, moaning over, let’s get building.
It’s a dragster, so to find that we’re starting with a very long, very thin chassis didn’t come as a surprise.
This is going to be quite long...
Next up you push the chassis to one side and build the driver’s cabin. And what’s this? A worm gear! Looks like something’s going to move.
Cabin assembled
The cabin is fitted to the chassis and then the roll cage is built. The purpose of the worm gear now becomes clear, as by turning a rod at the rear, the roll cage can be opened and closed.
Bodywork mostly in place
Roll cage raised
The next section to be constructed is the engine exhausts and… a second worm gear! Could there be some more mechanicals? Well yes. The rear spoiler can be raised and lowered.
Exhausts...
As you go along there are a number of stickers to apply, around four from each set. Last up is the wheels. The rears are the balloon tyres from the Off roader, while the fronts are the small front wheels from the Race Car.
The finished article
Overall? Well it’s ok. At least it’s got some moving parts which is more than can be said for the two donor sets. I was hoping that it was going to utilise both motors to create some overpowered beast, but no, just the one.
Maybe a project for another day.
The complete set : 42010, Dragster, 42011
~ ~ ~ ~ ~ ~ ~ ~ ~ ~ ~ ~
(1) I’ve mentioned it before and won’t go over it again now.
(2) No ‘maybe’ about it.
(3) STickers Across Multiple Pieces. Where a single sticker is applied to a model across two or more parts and the set can’t be taken apart without cutting or removing the sticker. And broadly speaking, removing stickers isn’t an option.
(4) I realise that for some people, this is actually a good thing.


